

Common Mistakes in Adobe Photoshop and InDesign Training and How to Avoid Them
Mastering Adobe Creative Cloud applications is no longer optional for modern designers; it is a fundamental career requirement. According to recent industry data, professionals who utilize advanced design software report a 30% increase in workflow efficiency compared to those relying on legacy tools. However, the path to proficiency is often littered with preventable errors that stall progress and frustrate learners. Whether you are a beginner or an experienced creative looking to upskill, understanding these pitfalls is critical. This guide analyzes the most frequent errors made during Adobe Photoshop and InDesign training and provides actionable strategies to avoid them, ensuring you maximize your learning potential.
The Layer Management Trap
One of the most common mistakes in Photoshop training is neglecting proper layer organization. Beginners often create dozens of unlabelled layers, leading to a chaotic workspace that is difficult to navigate. This lack of structure makes collaboration nearly impossible and slows down the editing process significantly.
To avoid this, always use layer groups and name your layers descriptively. For example, label a layer "Hero Image" rather than "Layer 1." This practice is essential for maintaining clarity in complex projects. Dynamic Web Training emphasizes this discipline in our Photoshop training courses, where instructors demonstrate how to build scalable file structures from day one.
In InDesign, the equivalent mistake is ignoring the Pages panel and Master Pages. Designers often try to manually adjust elements on every single page instead of using Master Pages for consistent headers, footers, and page numbers. This leads to inconsistencies and wasted time when changes are needed.
Resolution and Color Mode Errors
Another critical error is confusing screen resolution with print resolution. Photoshop defaults to 72 DPI (dots per inch), which is suitable for web design but disastrous for high-quality print materials. If you start a project at 72 DPI and try to print it, the result will be pixelated and blurry.
Always set your document to 300 DPI for print projects and ensure the color mode is CMYK, not RGB. RGB is for digital screens, while CMYK is for ink-based printing. This distinction is vital for professional results. Our Adobe training resources cover these technical foundations extensively to ensure your files are production-ready.
Similarly, InDesign users often fail to check their bleed settings. Bleed is the extra area around the edge of a page that ensures no white borders appear after trimming. Ignoring bleed settings can result in critical design elements being cut off during the printing process.
Ignoring Non-Destructive Editing
Many learners rely on destructive editing techniques, such as permanently erasing pixels or deleting parts of an image. This approach is risky because it prevents you from going back and making changes later. If a client requests a different background, you might have to start over if you deleted the original elements.
Instead, use non-destructive methods like adjustment layers, layer masks, and smart objects. Smart objects allow you to scale and transform images without losing quality. This flexibility is a hallmark of professional workflow. Dynamic Web Training’s Photoshop courses focus heavily on these techniques to build robust, editable files.
Typography and Kerning Neglect
In InDesign, typography is king. A common mistake is using default text settings without adjusting tracking, leading, or kerning. Poor typography can make even the most beautiful layout look amateurish. It is not enough to just place text; you must refine its readability and visual hierarchy.
Use character and paragraph styles to maintain consistency throughout your document. This not only speeds up the design process but also ensures that your typography remains uniform. Our Illustrator and InDesign training modules provide detailed instruction on mastering these typographic tools.
Choosing the Right Software for the Job
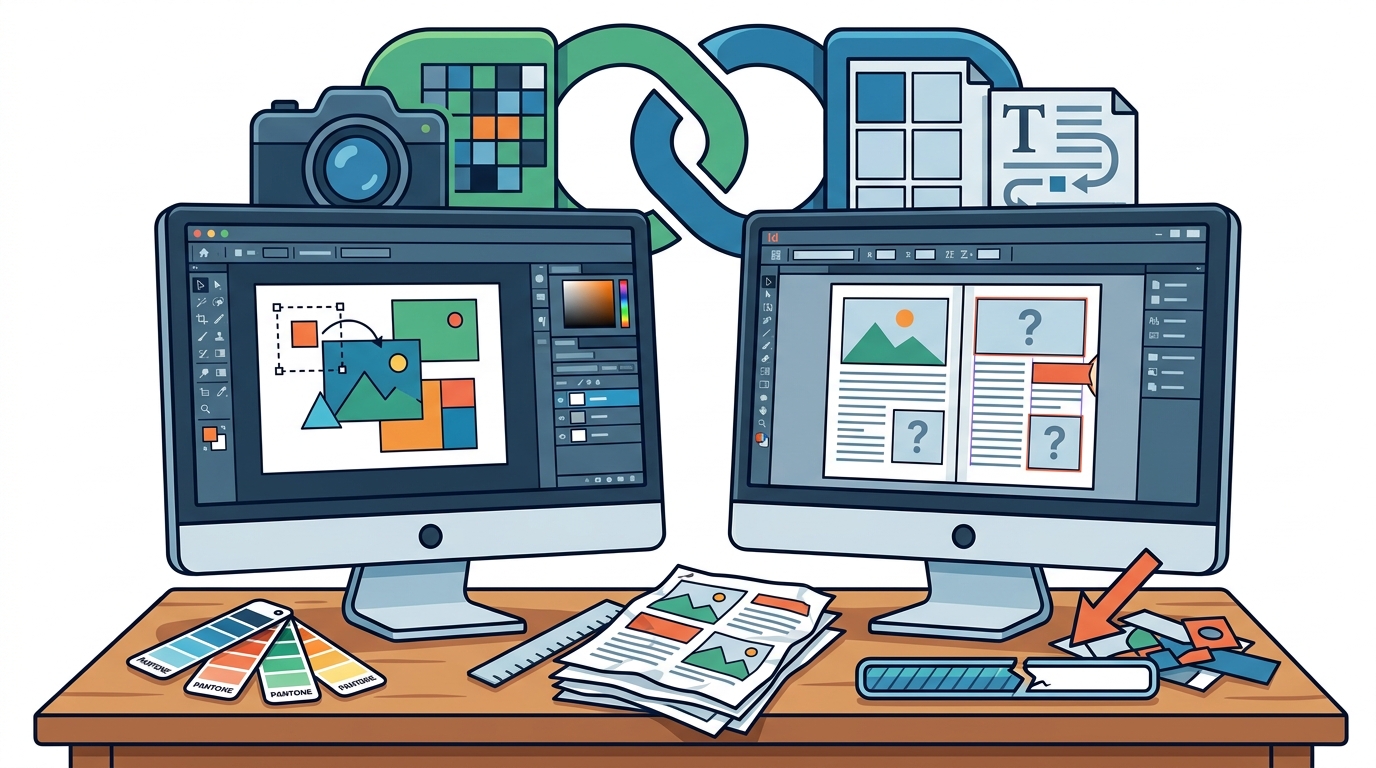
Another frequent error is trying to force one tool to do the job of another. For instance, using Photoshop for multi-page layouts is inefficient and prone to errors. Photoshop is designed for raster graphics and photo manipulation, not for long documents.
Use InDesign for layouts, Photoshop for image editing, and Illustrator for vector graphics. Each tool has specific strengths, and leveraging them correctly is key to professional output. Dynamic Web Training offers specialized Adobe training packages to help you understand these distinctions and apply them effectively.
Key Takeaways
- Organize Layers: Use groups and descriptive names in Photoshop to maintain workflow efficiency.
- Check Resolution: Always use 300 DPI and CMYK for print projects to avoid pixelation.
- Use Smart Objects: Preserve image quality by using non-destructive editing techniques.
- Master Typography: Utilize character and paragraph styles in InDesign for consistent layouts.
- Set Bleed Correctly: Include bleed margins in InDesign to prevent trimming errors.
- Choose the Right Tool: Use InDesign for layouts and Photoshop for image editing, not vice versa.
- Practice Regularly: Consistent hands-on practice is essential for mastering complex software.
Frequently Asked Questions
What is the best way to organize layers in Photoshop?
Use layer groups to categorize related elements and name each layer descriptively. This makes it easier to locate and edit specific parts of your design later.
Why is CMYK important for print design?
CMYK (Cyan, Magenta, Yellow, Key/Black) is the color model used by printers. Using RGB (Red, Green, Blue) can result in color shifts when the design is printed.
Can I use Photoshop for multi-page documents?
While possible, it is not recommended. InDesign is specifically built for multi-page layouts and offers better tools for text flow, master pages, and pagination.
What are Smart Objects in Photoshop?
Smart Objects are layers that contain image data from raster or vector images. They preserve all the original characteristics of the source file, allowing for non-destructive editing.
How do I set up bleed in InDesign?
When creating a new document in InDesign, specify the bleed amount in the "Bleed and Slug" section of the new document dialog box. This ensures your design extends beyond the trim edge.
What is the difference between tracking and kerning?
Tracking adjusts the spacing between all characters in a word or paragraph, while kerning adjusts the spacing between specific pairs of characters to improve visual balance.
Why should I use character styles in InDesign?
Character styles allow you to apply consistent formatting to text quickly. If you need to change a font or color, updating the style updates all text using that style automatically.
Start Your Training Journey
Avoiding these common mistakes requires structured learning and expert guidance. Dynamic Web Training provides comprehensive Photoshop training and InDesign courses designed to help you master these tools efficiently. Our certified instructors offer hands-on training that covers everything from basic tools to advanced workflows. Visit our training packages page to find the perfect course for your needs. Book your session today and take the first step toward professional design proficiency.